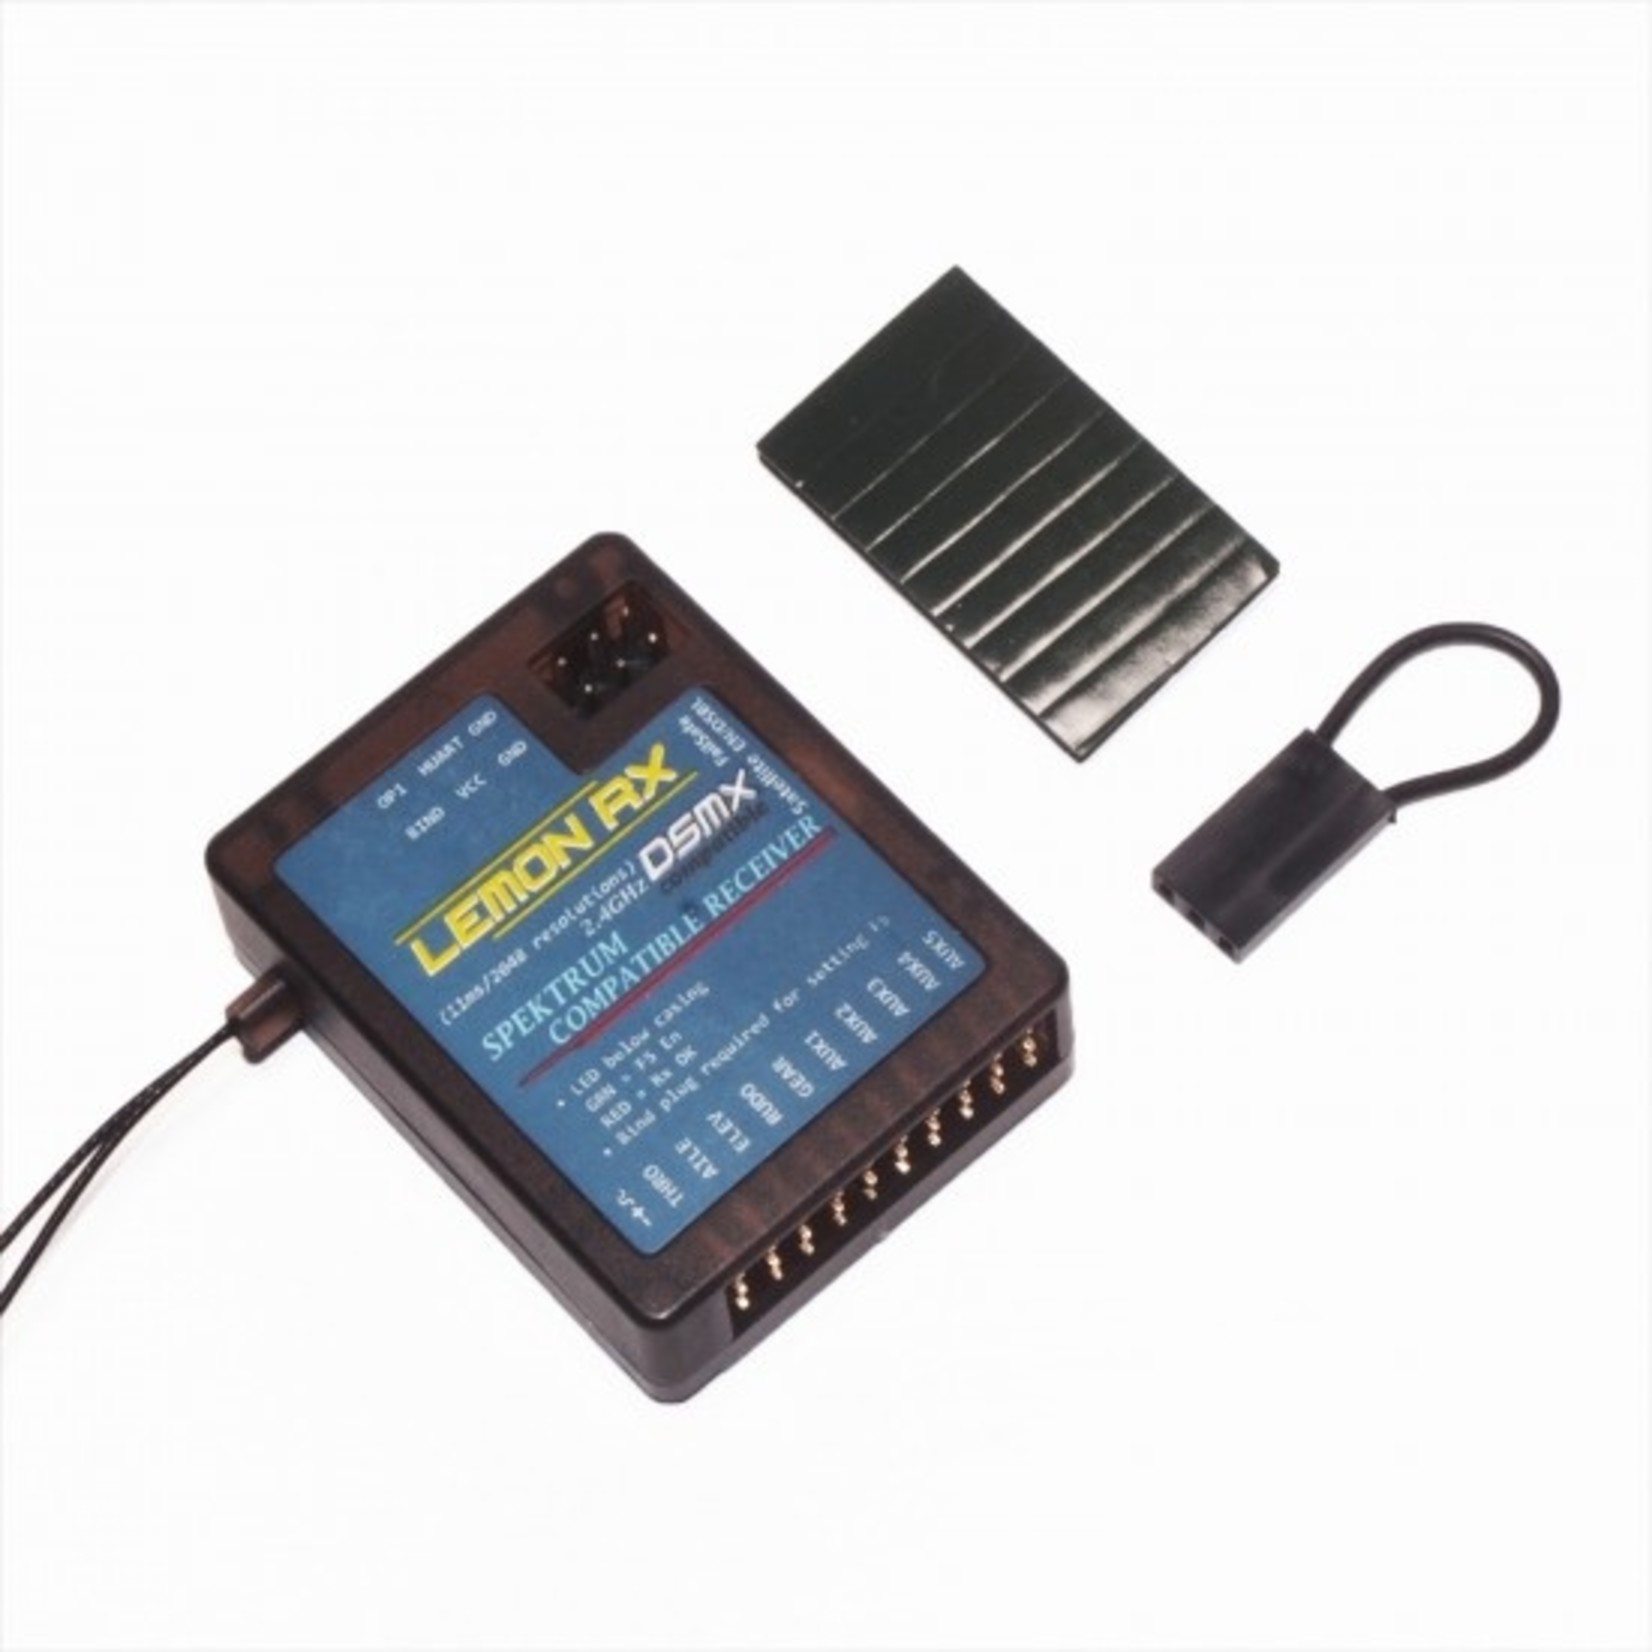
Specification
| Type: |
DSMX Compatible 10 Channels Full Range Diversity Antenna Receiver Failsafe with UART output |
| Number of Channel: |
10 |
| Modulation: |
DSMX Compatible Also DSM2 backward Compatible |
| Band: |
2.4 GHz |
| Dimension: |
43L x 34W x 14H mm |
| Weight: |
12.32g |
| Voltage Range: |
3.45 - 7.2V |
RCgroups discussion
http://www.rcgroups.com/forums/showthread.php?t=1773138
User Manual re-direct link Thanks to John [JJ604 RCgroups] in helping us with this user manual.
http://www.lemon-rx.com/index.php?route=information/information&information_id=4
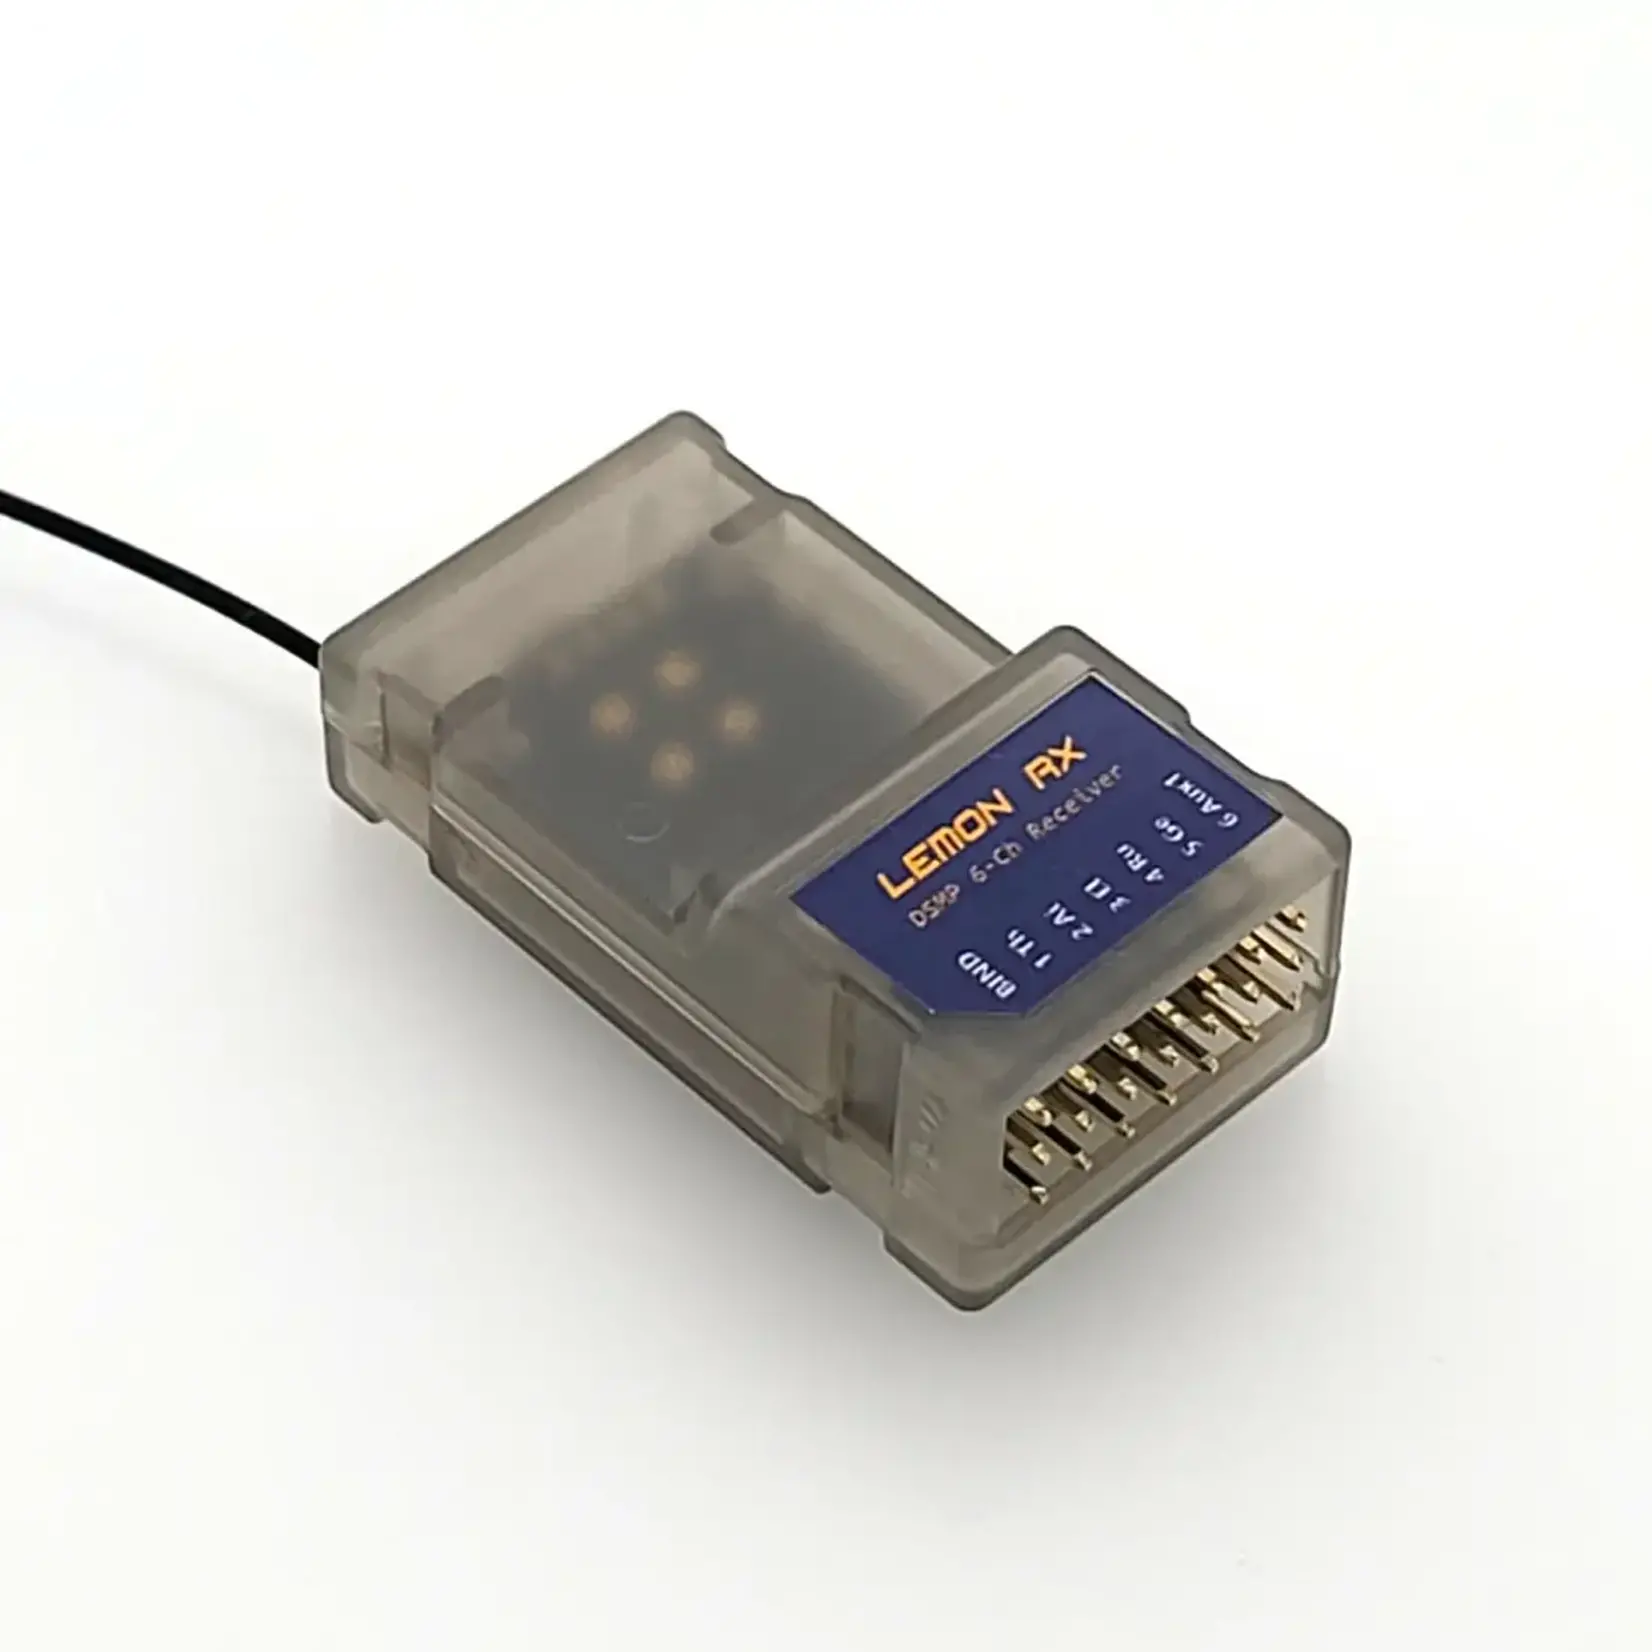
How dual antennas work
An independent processor monitors an incoming signal and choose the appropriate antenna for reception. This allows 2 different location for installing the antennas along with different orientation. Satellite is no longer needed for receiver diversity. This greatly reduces weight with increased overall reliability in comparison to the use of a primary receiver with satellite receiver.
Photo showing below is the diversity receiver for end-pin stabilizer. The same diversity receiver is also used in this product.

Binding 1 Setup
Video:http://www.youtube.com/watch?v=FZsHGEW2zPY&feature=youtu.be
1 Insert bind plug to the receiver.
2 Provide power to the unit.
3 Enable bind mode in transmitter and ensure distance separation of 2 meters from receiver.
4 Remove bind plug.
Binding 2 - Enable 11ms frame rate for high speed digital servo Setup
1 Insert 2 bind plug to the receiver binding location.
2 Provide power to the unit.
3 Enable bind mode in transmitter and ensure distance separation of 2 meters from receiver.
4 Remove bind plug.
5 Every time when the units are powered, quickly flashing green light indicates 11ms frame rate is enabled.
Setting Failsafe
Step 1: Start by binding the receiver to the transmitter in the normal way.
Step 2: Proceed as follows to set failsafe see video: http://www.youtube.com/watch?v=FyW1v12dv_k
1 Ensure that transmitter and receiver are turned on.
2 Insert bind plug into the receiver Note: to set failsafe, bind plug is applied only when the receiver is turned on.
3 Set transmitter controls to the desired failsafe positions.
4 Press the side pushbutton to memorize failsafe settings.
5 Observe that the green light at the end of the receiver turns on to indicate failsafe is set. Repeat step 4 will cause the LED to turn off which means failsafe is disabled.
6 Remove bind plug.
7 Disconnect the power for at least 2 seconds and then reconnect the power again.
8 Test failsafe by turning off the transmitter.
HUART Output High speed UART for UAV or quad-flyer application
TX port UART, 115200bps, 8N1
Condition 1 UART output specification when no signal received device reset and continuously monitor for valid signal roughly about every 0.5 sec:
- <0x13><'R'><'E'><'S'><'E'><'T'><0x13>
- <0x13> is used as header for beginning and ending identifier
Condition 2 UART output specification when signal is received updated ~11ms with 2048/11ms DSM2 protocol with 12 bytes of information:
- <0x13><Throttle><Aileron><Elevator><Rudder><Gear><Aux1><Aux2><Aux3><Aux4><Aux5><0x13>
- DEC0 ~ DEC255 refer to the approximate value for each of the full range control output for the channels.
- <0x13> is used as header for beginning and ending identifier
For example: if all channels are centered except throttle shutdown and AUX is maximized, the UART should output the following.
<0x13><DEC255><DEC127><DEC127><DEC127><DEC127><DEC127><DEC127><DEC127><DEC127><DEC127><0x13>
More about failsafe
For Lemon Rx 10 channels receiver, failsafe is available for all channels and some user may found it useful for robotics application or UAV.
When bind plug is still plugged after successful binding, pressing the mem. button will cause the receiver to memorize all channels settings at the time the button is pressed for use in failsafe. If the failsafe is enabled correctly, green light should be on at the bottom of receiver. Press mem. button again while bind plug is plugged will cause the green light to turn off. This indicate the failsafe mode is disabled. Take the bind plug out before flying!
Even in the event of power disconnected, failsafe settings are still saved and will restore to its functions accordingly when power is provided.
About failsafe enabled:
When the primary receiver and satellite receiver is unable to detect any RF signal for continuous time interval of approximately 3 seconds, all channels will be restored to the saved setting. At this point the receiver will try to find valid RF signal. If valid signal is detected, the receiver will use the valid signal immediately.
If you don't like failsafe, make sure green light is not on before flying!
Note:
1 This is not a Spektrum DSMX or DSM2 product, nor is it a a Spektrum DSM2 or DSMX product. The Spektrum, DSMX and DSM2 brand is a trademark of Horizon Hobby, Inc.
2 This is not an underground black market fake Spektrum product. Lemon Rx quality is guaranteed.
3 Lemon Rx products are tested to be compatible with Spektrum's DSMX and or DSM2 product Spektrum, DSMX and DSM2 are the registered trademark of Horizon Hobby, Inc..